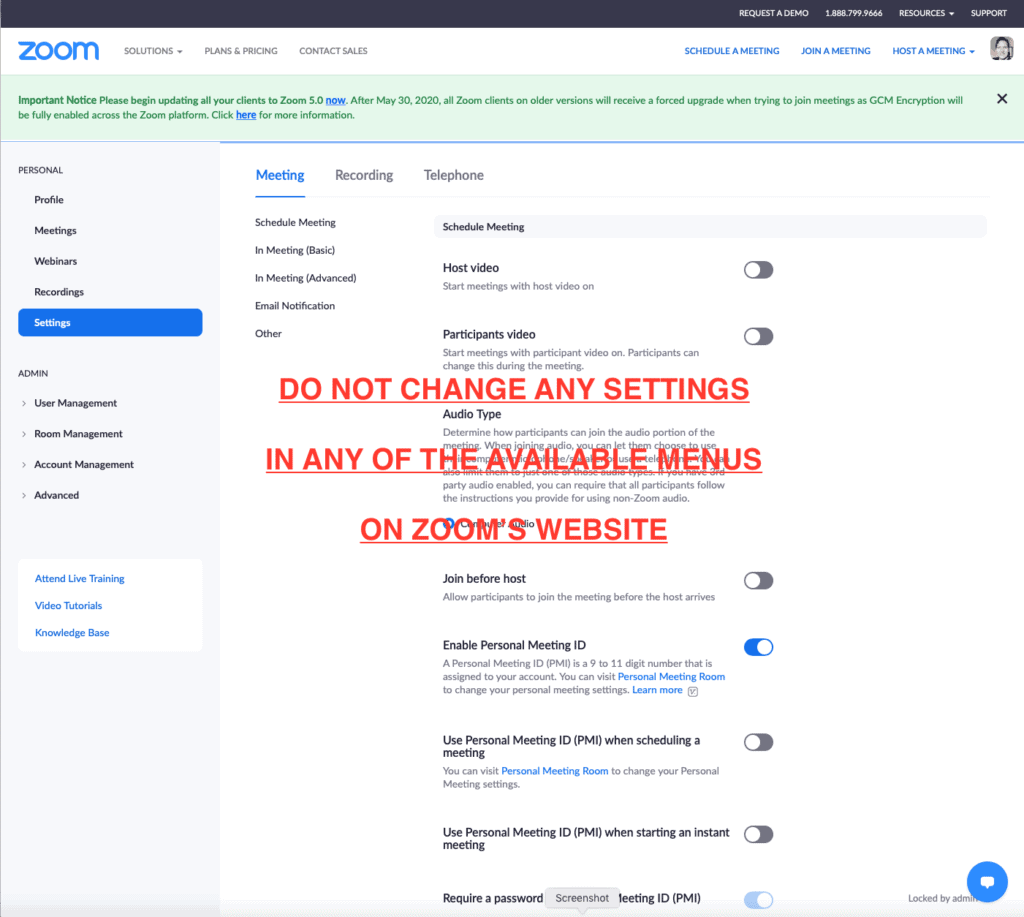
Zoom video-conferencing software. Download it here (make sure you get version 5.0 or later, as earlier versions will be out of date after May 30, 2020) and follow the onscreen instructions to set up a free account using your work email account. Note: Immediately after setting up your account on the Zoom website, download the software, and leave all settings shown on Zoom’s website at their default settings.
Headphones (required for the duration of the interview to prevent audio bleed over)
Computer-based recording software (e.g., GarageBand, Logic, Pro Tools), which will be used simultaneously with Zoom in order to capture higher-quality audio than Zoom is capable of. Later, your DAW audio will be combined with your PG interviewer’s video and audio footage by our editing team.
Digital interface with at least two microphone/instrument inputs and headphone-monitoring capabilities
One vocal microphone
An instrument microphone or DI input source for capturing audio from the gear being demoed
Ample lighting—please check in advance to make sure the room your demo person shoots in has sufficient lighting to illuminate both the product’s features and the rep’s face without being harsh, shadowy, etc. Also be careful to avoid having too much light behind the rep, as this makes it difficult to see the person’s face.
Pre-Call Zoom Setup Instructions
Go to Zoom’s Preferences menu.
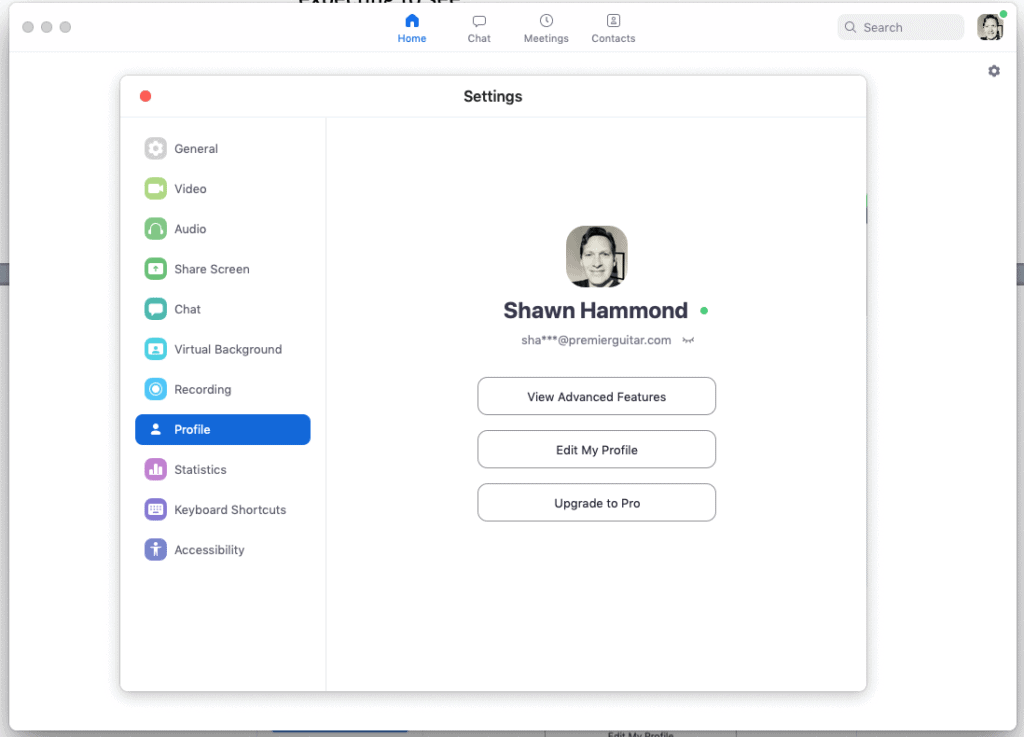
In the Profile section:
Upload a profile pic
Make sure the software is set to display the company rep’s name
2. In the Video section, check the box for Enable HD.
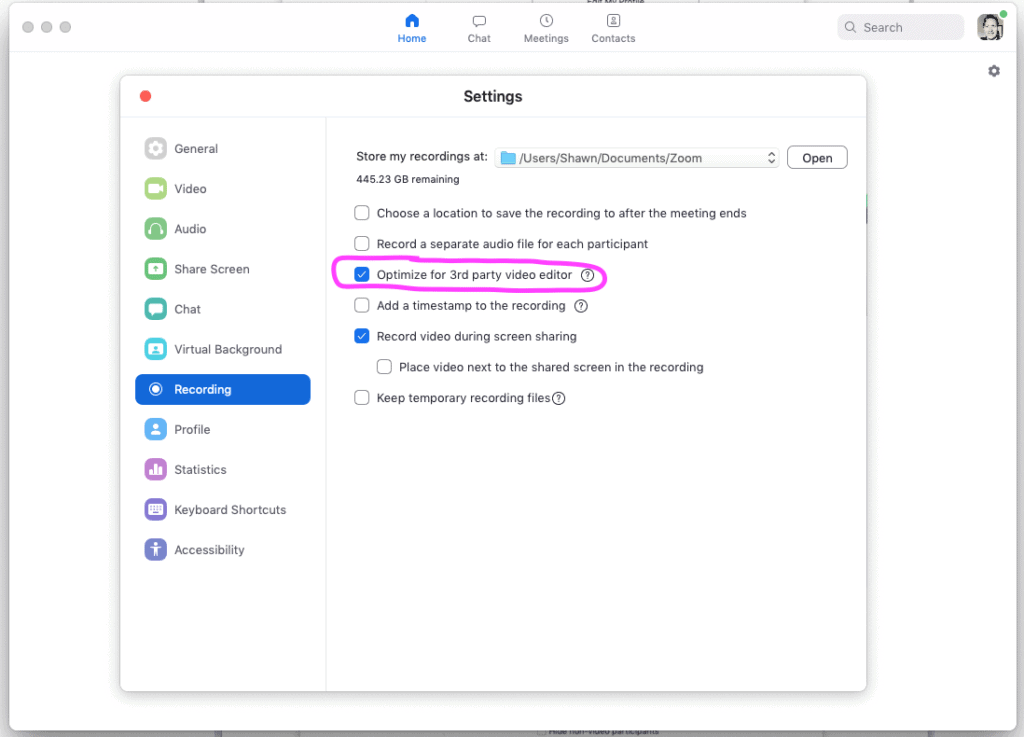
3. In the Recording section, check the box for Optimize for 3rd party video editor.
Note: Once you’ve set these video and recording preferences, they should be saved for future calls—but it can’t hurt to double-check before your call.
Client Call Guidelines
Important reminder: Each call should have only one company representative, so be sure to choose someone who knows all pertinent gear specs and features and who can demonstrate it in its best light.
Before starting the Zoom meeting, go to Zoom’s Preferences and make sure that its Video and Recording preferences are set as specified in the “Pre-Call Zoom Setup” section above.
At the prearranged appointment time, follow the meeting link sent to you by your PG rep to begin the Zoom call. Tip: Make sure all other applications are closed during the call to avoid call-quality issues.
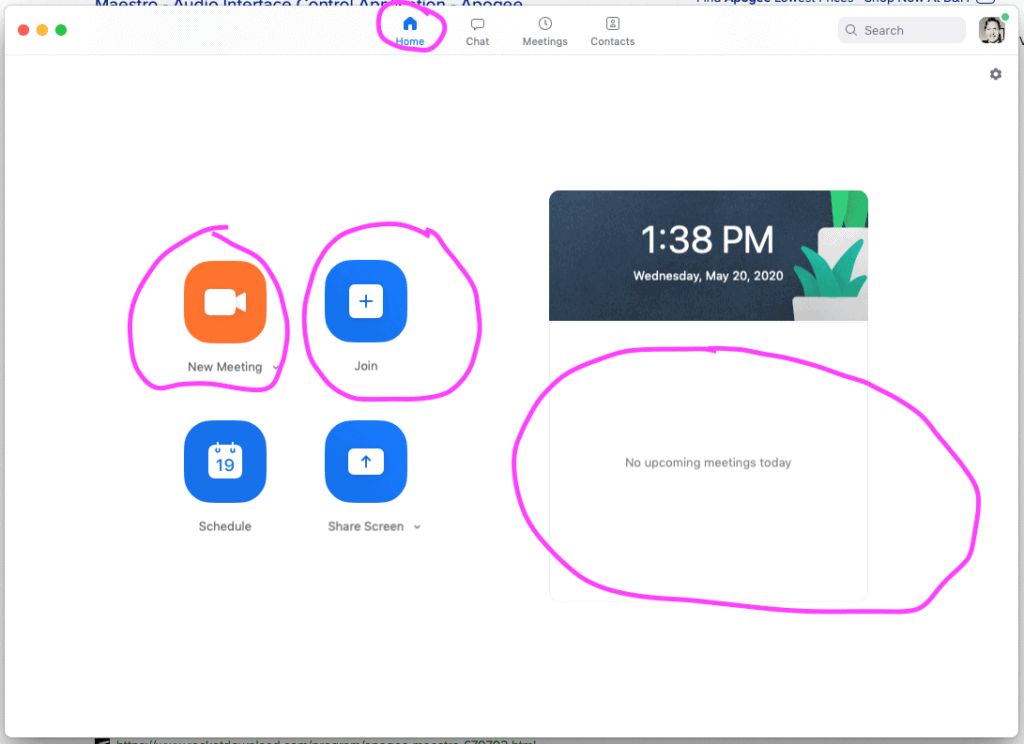
On Zoom’s Home screen, click the Join icon and enter the provided Meeting ID OR select the pre-scheduled meeting from the calendar list at right.
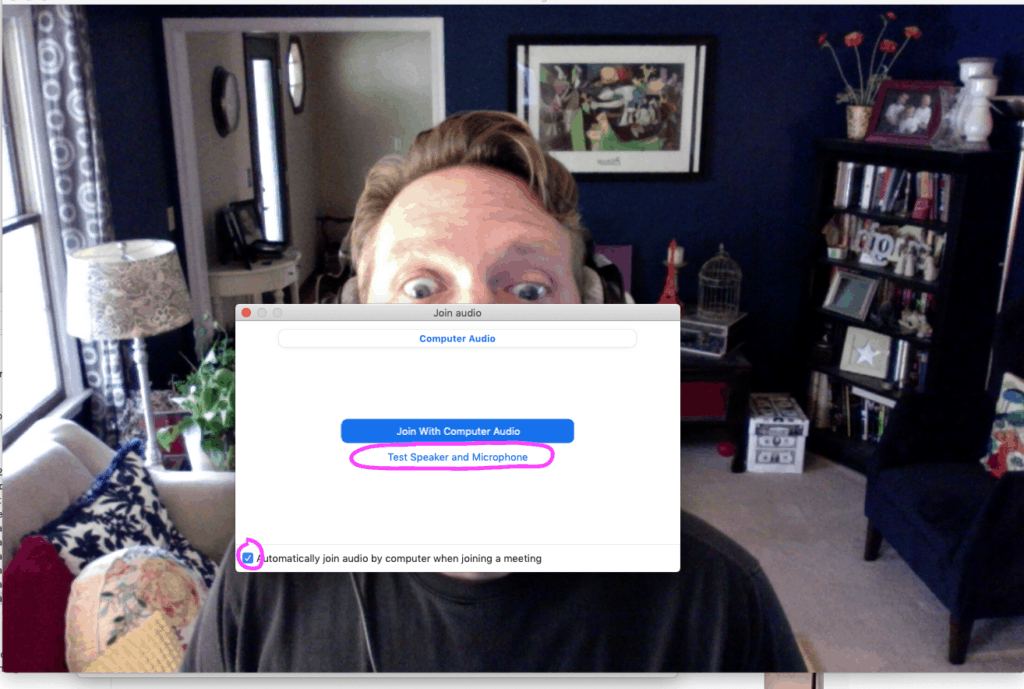
4. Before the call begins, place a checkmark in the box that says “Automatically join audio by computer when joining a meeting.” Also, be sure to take the opportunity to test your audio through your mic and headphones. Note: If you don’t hear the test signals or your own voice, you may need to select your interface from the available dropdown menu.
5. Start recording your audio tracks—vocal and instrument—in your separate DAW software (e.g., GarageBand) and leave it going continuously for the entire interview. To help the video editor sync all the files later, clap into the mic at the beginning. DO NOT stop or pause recording until the end of the interview.
6. When you end the Zoom call (by either clicking the END button at the lower right or closing the call window), immediately stop recording audio in your DAW.
7. Upload both the audio files recorded via your DAW and any pertinent hi-res product photography to Dropbox via the link provided in your video-appointment confirmation email.
8. If recording video on separate camera, ensure framerate (FPS) is set to 30.